How to self-host your own AI agent
When you run AI agents like ChatGPT Work or Microsoft Copilot, your files and prompts all pass through third-party servers that you’re not in control of.
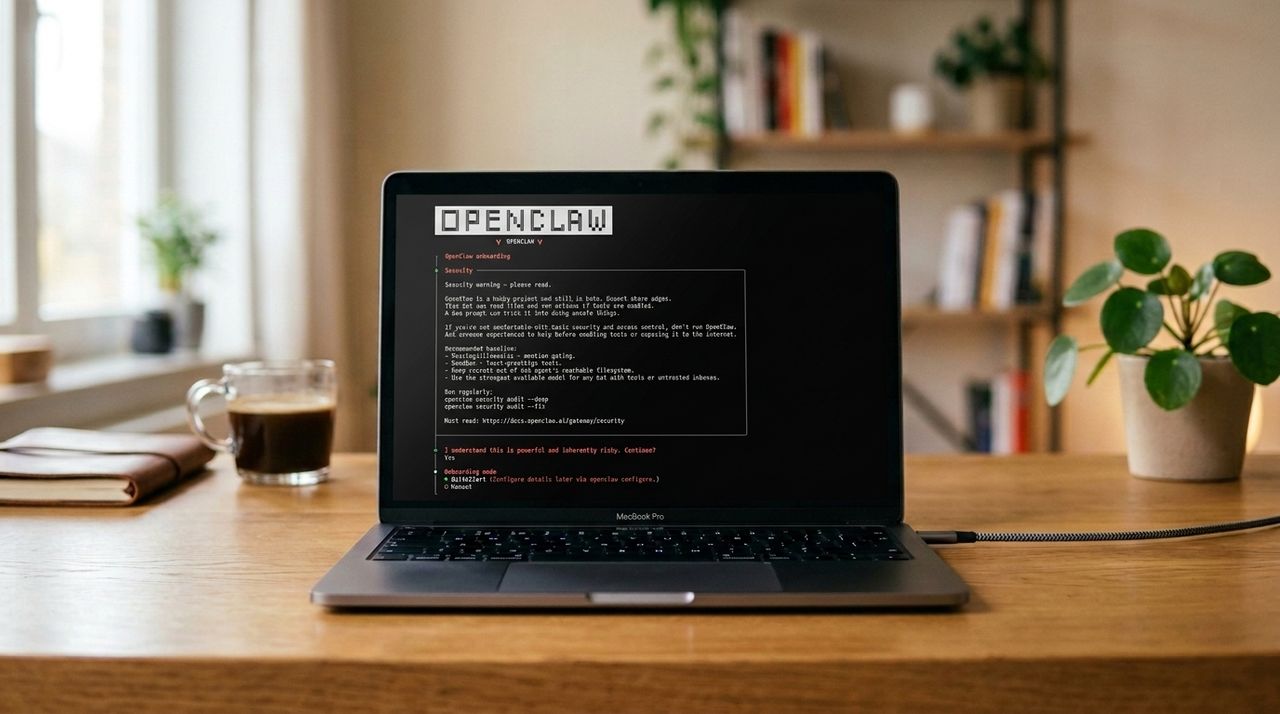
<![CDATA[ <article> <p>When you run AI agents like ChatGPT Work or Microsoft Copilot, your files and prompts all pass through third-party servers that you’re not in control of. Essentially, you’re paying a subscription fee for the privilege of letting someone else handle your data, when you could be running the same tasks locally from your own hardware. </p><p>For professionals and teams that work in regulated industries or need to ensure strict local compliance, this can be an ongoing challenge. Even when you’re opting out of model training in ChatGPT or Claude, you’re trusting them to honor that agreement with very little legal recourse in case they don’t. </p><p>However, self-hosting your own agents is not as complicated as it used to be. You can easily set up a private <a href="https://www.techradar.com/pro/what-is-openclaw" target="_blank">OpenClaw</a> environment on your local workstation, <a href="https://www.techradar.com/news/best-vps-hosting" target="_blank">VPS</a>, or NAS. Then if you want, you can go the extra mile by layering your OpenClaw setup with Open WebUI’s polished visual interface. I’ve run this setup myself on my home computer, and I’ll show you how easily you can do it too. </p><h2 class="article-body__section" id="section-what-you-ll-need-before-we-start"><span>What you'll need before we start</span></h2><ul><li>A local desktop, virtual machine, VPS, or NAS device running Linux. It should have at least 4GB of RAM and 20GB of free storage space.</li><li>Sudo access to your Linux operating system.</li><li>Node.js 22 or later installed on your OS (Node.js 24 is the recommended version).</li><li>An API key for your preferred LLM vendor, such as OpenAI or Anthropic.</li><li>Or if you have the GPU for it, you can run an open-weight LLM like Llama 3.3 locally on your system with Ollama (optional).</li></ul><figure class="van-image-figure inline-layout" data-bordeaux-image-check ><div class='image-full-width-wrapper'><div class='image-widthsetter' style="max-width:512px;"><p class="vanilla-image-block" style="padding-top:56.25%;"><img id="HyvADZwV2u7eu5KxDHp2Xi" name="unnamed (1)" alt="Openclaw screenshot" src="https://cdn.mos.cms.futurecdn.net/HyvADZwV2u7eu5KxDHp2Xi.png" mos="" align="middle" fullscreen="" width="512" height="288" attribution="" endorsement="" class="inline"></p></div></div><figcaption itemprop="caption description" class=" inline-layout"><span class="credit" itemprop="copyrightHolder">(Image credit: Openclaw/Edited with Gemini )</span></figcaption></figure><h2 class="article-body__section" id="section-step-by-step-installation-guide-for-self-hosting-your-own-ai-agent"><span>Step-by-step installation guide for self-hosting your own AI agent </span></h2><h2 id="step-1-install-openclaw">Step 1: Install OpenClaw</h2><p>OpenClaw is an open-source autonomous agent framework that can run shell commands, browse the web, read/write files, and connect to messaging apps using your local infrastructure. You can install it using the official script.</p><p><em>curl -fsSL https://openclaw.ai/install.sh | bash</em></p><p>Once installed, run the onboarding wizard. This is where you'll connect your model provider's API key and give your OpenClaw agent a name.</p><p><em>openclaw onboard</em></p><p>Follow the on-screen instructions to configure a default AI model and paste in your API key after picking. You can also choose to run an open-weight AI model like Llama 3.3 or Qwen 3.7 locally on your hardware, by downloading the model repo from an online database like Hugging Face. The wizard writes its output to a configuration file at ~/.openclaw/openclaw.json, which you'll need to edit again in the next step.</p><h2 id="step-2-enable-the-api-endpoint">Step 2: Enable the API endpoint</h2><p>Open WebUI talks to OpenClaw through an OpenAI-compatible endpoint, but that endpoint is switched off by default for security reasons. Open the configuration file in a text editor using the nano command.</p><p><em>nano ~/.openclaw/openclaw.json</em></p><p>Now add or update the following block so the API endpoint is enabled.</p><pre class="line-numbers language-plaintext" language="plaintext" ><code>json{ "gateway": { "http": { "endpoints": { "chatCompletions": { "enabled": true } } } } }</code></pre><p>Save the file and close the editor. If the gateway is already running, you'll need to restart it for the change to take effect.</p><h2 id="step-3-start-the-gateway">Step 3: Start the gateway</h2><p>With the endpoint enabled, we need to start the gateway process.</p><p><em>openclaw gateway</em></p><p>The gateway starts on port 18789 by default. Confirm it's running with the built-in status check.</p><p><em>openclaw gateway status</em></p><figure class="van-image-figure inline-layout" data-bordeaux-image-check ><div class='image-full-width-wrapper'><div class='image-widthsetter' style="max-width:512px;"><p class="vanilla-image-block" style="padding-top:57.23%;"><img id="gCmHmYqr9JYXiKacbsFDYi" name="unnamed (1)" alt="Openclaw screenshot" src="https://cdn.mos.cms.futurecdn.net/gCmHmYqr9JYXiKacbsFDYi.jpg" mos="" align="middle" fullscreen="" width="512" height="293" attribution="" endorsement="" class="inline"></p></div></div><figcaption itemprop="caption description" class=" inline-layout"><span class="credit" itemprop="copyrightHolder">(Image credit: Openclaw/Edited with Gemini )</span></figcaption></figure><h2 id="step-4-install-docker-and-run-open-webui">Step 4: Install Docker and run Open WebUI</h2><p>Open WebUI offers a polished visual interface that makes it easier to create and run OpenClaw agents without interacting with the CLI in terminal every time. Open WebUI recommends installing it as a containerized Docker application, so we first need to install Docker Engine and Docker Compose. </p><p>Before we do anything else, open a terminal window and update your package index.</p><p><em>sudo apt-get updatesudo apt-get install -y ca-certificates curl</em></p><p>Add Docker's official GPG key, which lets your system verify that the packages actually came from Docker.</p><pre class="line-numbers language-plaintext" language="plaintext" ><code>sudo install -m 0755 -d /etc/apt/keyringssudo curl -fsSL https://download.docker.com/linux/ubuntu/gpg -o /etc/apt/keyrings/docker.ascsudo chmod a+r /etc/apt/keyrings/docker.asc</code></pre><p>Now register Docker's repository with apt.</p><pre class="line-numbers language-plaintext" language="plaintext" ><code>echo \ "deb [arch=$(dpkg --print-architecture) signed-by=/etc/apt/keyrings/docker.asc] https://download.docker.com/linux/ubuntu \ $(. /etc/os-release && echo "$VERSION_CODENAME") stable" | sudo tee /etc/apt/sources.list.d/docker.list > /dev/nullsudo apt-get update</code></pre><p>Install Docker Engine and Docker Compose.</p><p><em>sudo apt-get install -y docker-ce docker-ce-cli containerd.io docker-buildx-plugin docker-compose-plugin</em></p><p>Now run Open WebUI as a container.</p><pre class="line-numbers language-plaintext" language="plaintext" ><code>docker run -d \ --name open-webui \ --restart unless-stopped \ -p 3000:8080 \ --add-host=host.docker.internal:host-gateway \ -v open-webui-data:/app/backend/data \ ghcr.io/open-webui/open-webui:main</code></pre><p><strong>Note:</strong> Because Open WebUI runs in a container and OpenClaw runs directly on the host, Open WebUI can't reach the gateway using localhost. Using the --add-host flag here lets it reach the host machine instead, where the OpenClaw gateway is listening on port 18789.</p><h2 id="step-5-connect-open-webui-to-your-openclaw-agent">Step 5: Connect Open WebUI to your OpenClaw agent</h2><p>Open a browser and navigate to http://your-server-ip:3000. Create an admin account on first launch, since the very first user to sign up becomes the administrator.</p><p>Once you're logged in, head to the connections settings.</p><ul><li>Go to <strong>Admin Settings</strong> > <strong>Connections</strong> > <strong>OpenAI</strong>.</li><li>Click <strong>Add Connection</strong>.</li><li>For the URL, enter http://host.docker.internal:18789/v1.</li><li>For the API key, paste your OpenClaw gateway bearer token, which you'll find in ~/.openclaw/openclaw.json under the gateway authentication section.</li><li>Click the checkmark to verify the connection, then save.</li></ul><p>Your OpenClaw agent should now appear as a selectable model in Open WebUI's chat window. Pick it from the dropdown and send a test message to confirm everything is wired up correctly. </p><figure class="van-image-figure inline-layout" data-bordeaux-image-check ><div class='image-full-width-wrapper'><div class='image-widthsetter' style="max-width:512px;"><p class="vanilla-image-block" style="padding-top:56.25%;"><img id="9qpqEtyCcdQ9LSfJvjieWi" name="unnamed (2)" alt="Openclaw screenshot" src="https://cdn.mos.cms.futurecdn.net/9qpqEtyCcdQ9LSfJvjieWi.png" mos="" align="middle" fullscreen="" width="512" height="288" attribution="" endorsement="" class="inline"></p></div></div><figcaption itemprop="caption description" class=" inline-layout"><span class="credit" itemprop="copyrightHolder">(Image credit: Openclaw/Edited with Gemini )</span></figcaption></figure><h2 id="what-to-do-now-that-you-re-all-set-up">What to do now that you’re all set up?</h2><p>With your OpenClaw setup complete and the UI functional, you can now start exploring the kind of automated workflows you can run with this system. If you’re flummoxed by all the options, here are some pointers on what you could look into first: </p><ul><li>OpenClaw has a community-driven Skills library that features tons of working automations for everything from GitHub repo maintenance to data visualization to vibe coding. Take a look at the <a href="https://clawhub.ai/" target="_blank" rel="nofollow">ClawHub</a> to get started.</li><li>Apart from Open WebUI, OpenClaw can also be integrated with your favorite communication apps like Slack, Telegram, Discord, or WhatsApp. Or better yet, you can use the built-in integration tools offered by OpenWebUI to set up a chatbot for Telegram, WhatsApp, Signal, and others. Just navigate to Settings > Admin > Bots in Open WebUI to configure chatbots using API tokens.</li><li>If you want to run automated workflows on repeat, OpenClaw lets you set up cron jobs that trigger automatically according to a set frequency. View the <a href="https://docs.openclaw.ai/cli/cron" target="_blank" rel="nofollow">OpenClaw documentation</a> for details on how to set these up.</li><li>If you’re running this setup on a personal workstation, make sure to back up all your important files and log out of active online accounts that you don’t want your agents to have access to. OpenClaw has system-wide privileges enabled by default, so it can read and write any file or execute tasks on its own, which can be a problem <a href="https://www.techradar.com/pro/how-to-safely-experiment-with-openclaw" target="_blank">if you have sensitive data on the device</a>. This is also why setting up OpenClaw on a VPS server is the recommended method for data isolation.</li></ul><h2 class="article-body__section" id="section-faqs"><span>FAQs</span></h2><section class="article__schema-question"><h3>Do I need coding experience for OpenClaw? </h3><article class="article__schema-answer"><p>No, you don’t need to know any programming languages for OpenClaw, although some basic familiarity with command-line interfaces does help during setup. Once the first-time setup is complete, though, you can simply rely on Open WebUI’s chat-based interface to configure and run OpenClaw agents. </p></article></section><section class="article__schema-question"><h3>Is this really more private? Does my data never leave the system? </h3><article class="article__schema-answer"><p>It depends on which options you chose when following this tutorial. If you’re connecting OpenClaw a cloud-hosted AI model’s private API, the model provider will have access to any data you process through the LLM. However, running an open-weight model locally on your system hardware keeps everything confined to your own environment with no cloud involvement. </p></article></section><section class="article__schema-question"><h3>Are there any subscription fees or costs associated with this setup? </h3><article class="article__schema-answer"><p>OpenClaw and Open WebUI are both free to use. If you use a cloud-based AI model to run OpenClaw, however, you’ll still need to pay for API credits based on your LLM’s token consumption. This is still much more cost-effective than a fully managed AI agent platform, which will bill you separately for each automated job you run. </p></article></section> </article> ]]>
Read the full article on TechRadar
Read Full Article →